이 게시물은 다음 링크를 참조하여 학습했습니다.
뷰를 사용한 Android Room - Kotlin | Android 개발자 | Android Developers
이 Codelab에서는 Kotlin 코루틴과 함께 Android 아키텍처 구성요소(RoomDatabase, Entity, DAO, AndroidViewModel, LiveData)를 사용하는 Android 앱을 Kotlin으로 빌드합니다. 이 샘플 앱은 단어 목록을 Room 데이터베이스
developer.android.com
Android의 Kotlin 흐름 | Android 개발자 | Android Developers
Android의 Kotlin 흐름 코루틴에서 흐름은 단일 값만 반환하는 정지 함수와 달리 여러 값을 순차적으로 내보낼 수 있는 유형입니다. 예를 들면 흐름을 사용하여 데이터베이스에서 실시간 업데이트
developer.android.com
[안드로이드 스튜디오 정리#18] Room
이 게시물은 다음 링크를 참조하여 학습했습니다. Room을 사용하여 로컬 데이터베이스에 데이터 저장 | Android 개발자 | Android Developers Room 라이브러리를 사용하여 더 쉽게 데이터를 유지하는
seminzzang.tistory.com
[Coroutine Flow] 1. Flow란 무엇인가?
Coroutine의 Flow는 데이터 스트림이며, 코루틴 상에서 리액티브 프로그래밍 지원 하기 위한 구성요소이다. 이를 이해하기 위해서는 먼저 리액티브(반응형) 프로그래밍이 무엇인지, 그리고 Flow가 리
kotlinworld.com
이번 게시물은 Room 예제에 대해 정리하려 한다.
이전에 Retrofit + ViewModel 예제를 공부하면서 Repository패턴에 대해 알게 되었다.
Room에 Repository 패턴을 작용하고자 하니, RoomDatabase 객체를 생성할 때 context가 필요하단 것을 알게 되었다.
그래서 Application을 상속받는 MyApplication 클래스를 만들고, 그 안에서 데이터베이스를 선언한 후 전역변수처럼 사용하도록 구현했다.
이 Repository를 ViewModel로 넘겨주기 위해, 즉, ViewModel에 인자를 넘겨줄 때 ViewModelFactory를 사용하는 것을 알게되었다.
그리고 데이터를 조작하면서 Flow라는 것 또한 알게 되었는데, 코루틴을 위한 데이터 형식으로 이것까지 넣어보았다.
이렇게 배운 내용들을 포함해서 간단하게 RoomDatabase를 조작하는 예제를 만들어보았다.
1. Gradle
모듈단에서 다음 의존성을 추가해주면 된다.
ViewModel을 사용하기 위한 dependency와 Room을 사용하기 위한 dependency들이다.
|
1
2
3
4
5
6
7
8
9
10
11
12
13
14
15
16
17
18
19
20
21
22
23
24
25
26
27
28
29
30
31
|
android{
...
buildFeatures{
dataBinding = true
}
...
}
dependencies {
...
def roomVersion = "2.4.1"
def lifecycle_version = "2.4.0"
implementation "androidx.room:room-runtime:$roomVersion"
implementation "androidx.room:room-ktx:$roomVersion"
kapt "androidx.room:room-compiler:$roomVersion"
annotationProcessor "androidx.room:room-compiler:$roomVersion"
testImplementation "androidx.room:room-testing:$roomVersion"
implementation "androidx.lifecycle:lifecycle-viewmodel-ktx:$lifecycle_version"
implementation "androidx.lifecycle:lifecycle-livedata-ktx:$lifecycle_version"
implementation 'androidx.activity:activity-ktx:1.3.0'
...
}
|
cs |
2. Room
Room에 대한 코드는 위의 링크에서 작성한 게시물의 코드와 동일하므로 별도의 설명은 생략하도록 하겠다.
AppDatabase.kt
|
1
2
3
4
5
6
7
8
9
10
11
12
13
14
15
16
17
18
19
20
21
22
23
24
25
|
@Database(entities = [User::class], version = 1)
abstract class AppDatabase: RoomDatabase() {
abstract fun userDao(): UserDao
private class AppDatabaseCallback(private val scope: CoroutineScope) : RoomDatabase.Callback(){
override fun onCreate(db: SupportSQLiteDatabase) {
super.onCreate(db)
// Database Init
}
}
companion object{
private var instance: AppDatabase? = null
@Synchronized
fun getInstance(context: Context, scope: CoroutineScope): AppDatabase?{
if(instance == null){
synchronized(AppDatabase::class){
instance = Room.databaseBuilder(context.applicationContext,AppDatabase::class.java,"user-database").build()
}
}
return instance
}
}
}
|
cs |
User.kt
|
1
2
3
4
5
6
7
|
@Entity
data class User(
@PrimaryKey(autoGenerate = true) val uid: Int,
@ColumnInfo(name = "first_name") val firstName: String?,
@ColumnInfo(name = "last_name") val lastName: String?
)
|
cs |
UserDao.kt
|
1
2
3
4
5
6
7
8
9
10
11
12
13
14
15
|
@Dao
interface UserDao {
@Query("SELECT * FROM user")
fun getAll(): Flow<List<User>>
@Insert
suspend fun insertAll(vararg users: User)
@Delete
suspend fun delete(user: User)
@Query("DELETE FROM user")
suspend fun deleteAll()
}
|
cs |
여기서 보면 Flow라는 형태의 데이터가 나오는데 Flow는 Coroutine에서 사용하는 데이터 형식으로, Flow를 사용하면 데이터의 반환을 내부적으로 자동으로 비동기 처리해준다고 한다.
3. Repository
Repository 또한 Retrofit + ViewModel 예제처럼 기본적인 Repository의 구조를 하고 있다.
직관적으로 볼수있는 interface와 이를 상속받는 class로 구현했다.
Repository.kt
|
1
2
3
4
5
6
7
8
9
|
interface Repository {
val allUsers: Flow<List<User>>
@WorkerThread
suspend fun insert(user: User)
@WorkerThread
suspend fun delete()
}
|
cs |
RepositoryImpl.kt
|
1
2
3
4
5
6
7
8
9
10
11
12
13
|
class RepositoryImpl(private val userDao: UserDao):Repository {
override val allUsers: Flow<List<User>> = userDao.getAll()
@WorkerThread
override suspend fun insert(user: User) {
userDao.insertAll(user)
}
@WorkerThread
override suspend fun delete() {
userDao.deleteAll()
}
}
|
cs |
여기서 @WorkerThread 어노테이션은 이 메서드가 WorkerThread에서 동작한다는 것을 의미한다.
4. ViewModel
ViewModel에서 인자를 넘겨주기 위해 ViewModelFactory를 만들었다.
ViewModel에서는 양방향 데이터바인딩을 위한 MutableLiveData 2개와
버튼 클릭시의 로직이 담긴 메서드 3개,
Room에서의 데이터를 읽어올 LiveData 1개로 구성되어 있다.
MainViewModel.kt
|
1
2
3
4
5
6
7
8
9
10
11
12
13
14
15
16
17
18
19
20
21
22
23
|
class MainViewModel(private val repository: RepositoryImpl): ViewModel() {
val first = MutableLiveData<String>()
val last = MutableLiveData<String>()
val users:LiveData<List<User>> = repository.allUsers.asLiveData()
init{
}
fun btnClick(){
var user = User(0, first.value, last.value)
insert(user)
}
fun insert(user: User) = viewModelScope.launch {
repository.insert(user)
}
fun delete() = viewModelScope.launch {
repository.delete()
}
}
|
cs |
MainViewModelFactory.kt
|
1
2
3
4
5
6
7
8
|
class MainViewModelFactory(private val repository: RepositoryImpl) : ViewModelProvider.Factory{
override fun <T : ViewModel> create(modelClass: Class<T>): T {
if(modelClass.isAssignableFrom(MainViewModel::class.java)){
return MainViewModel(repository) as T
}
throw IllegalArgumentException("Unknown ViewModel class")
}
}
|
cs |
팩토리에서의 isAssignableFrom() 메서드는 특정 class가 어떤 클래스 / 인터페이스를 상속 / 구현했는지를 의미한다.
비슷한 개념으로 instaceof 가 있는데, 이는 특정 object가 어떤 클래스 / 인터페이스를 상속 / 구현했는지를 의미한다.
activity_main.xml
|
1
2
3
4
5
6
7
8
9
10
11
12
13
14
15
16
17
18
19
20
21
22
23
24
25
26
27
28
29
30
31
32
33
34
35
36
37
38
39
40
41
42
43
44
45
46
47
48
49
50
51
52
53
54
55
56
57
58
|
<?xml version="1.0" encoding="utf-8"?>
<layout
xmlns:android="http://schemas.android.com/apk/res/android"
xmlns:app="http://schemas.android.com/apk/res-auto"
xmlns:tools="http://schemas.android.com/tools">
<data>
<variable
name="viewmodel"
type="com.example.roomexamplekt.MainViewModel" />
</data>
<LinearLayout
android:layout_width="match_parent"
android:layout_height="match_parent"
tools:context=".MainActivity"
android:orientation="vertical"
android:padding="20dp"
android:gravity="center_horizontal">
<EditText
android:id="@+id/et_first"
android:layout_width="200dp"
android:layout_height="wrap_content"
android:hint="first name"
android:text="@={viewmodel.first}"/>
<EditText
android:id="@+id/et_last"
android:layout_width="200dp"
android:layout_height="wrap_content"
android:hint="last name"
android:text="@={viewmodel.last}"/>
<Button
android:id="@+id/btn_input"
android:layout_width="wrap_content"
android:layout_height="wrap_content"
android:text="입력"
android:onClick="@{() -> viewmodel.btnClick()}"/>
<Button
android:id="@+id/btn_delete"
android:layout_width="wrap_content"
android:layout_height="wrap_content"
android:text="삭제"
android:onClick="@{() -> viewmodel.delete()}"/>
<TextView
android:id="@+id/tv_test"
android:layout_width="match_parent"
android:layout_height="wrap_content"
android:textSize="20dp"
android:text="test"/>
</LinearLayout>
</layout>
|
cs |
5. Application
어플리케이션을 상속받는 MainApplication에서는 전역변수로 사용할 RoomDatabase, Repository, Scope등을 선언해두었다.
이 클래스 안에 있는 데이터들은 어플리케이션의 생명주기와 연관되어 불필요하게 여러번 재생성되는 것을 막는다고 한다.
MainApplication.kt
|
1
2
3
4
5
6
|
class MainApplication: Application() {
val applicationScope = CoroutineScope(SupervisorJob())
val database by lazy { AppDatabase.getInstance(this, applicationScope)}
val repositoryImpl by lazy { RepositoryImpl(database!!.userDao())}
}
|
cs |
6. MainActivity
MainActivity에서는 ViewModel을 ViewModelFactory를 통해 생성해주었다.
그리고, ViewModel에 있는 RoomDatabase와 연결되어 있는 LiveData에 Observer를 연결해서 데이터가 변경될 때마다 TextView로 보여주는 예제를 만들어보았다.
MainActivity.kt
|
1
2
3
4
5
6
7
8
9
10
11
12
13
14
15
16
17
18
19
20
21
22
23
|
class MainActivity : AppCompatActivity() {
private lateinit var mBinding: ActivityMainBinding
private val binding get() = mBinding!!
private val viewModel: MainViewModel by viewModels{
MainViewModelFactory((application as MainApplication).repositoryImpl)
}
override fun onCreate(savedInstanceState: Bundle?) {
super.onCreate(savedInstanceState)
mBinding = ActivityMainBinding.inflate(layoutInflater)
setContentView(binding.root)
binding.viewmodel = viewModel
viewModel.users.observe(this, Observer { users ->
var str:String = ""
for(idx in users) str += idx.firstName + " / " + idx.lastName + '\n'
binding.tvTest.text = str
})
}
}
|
cs |
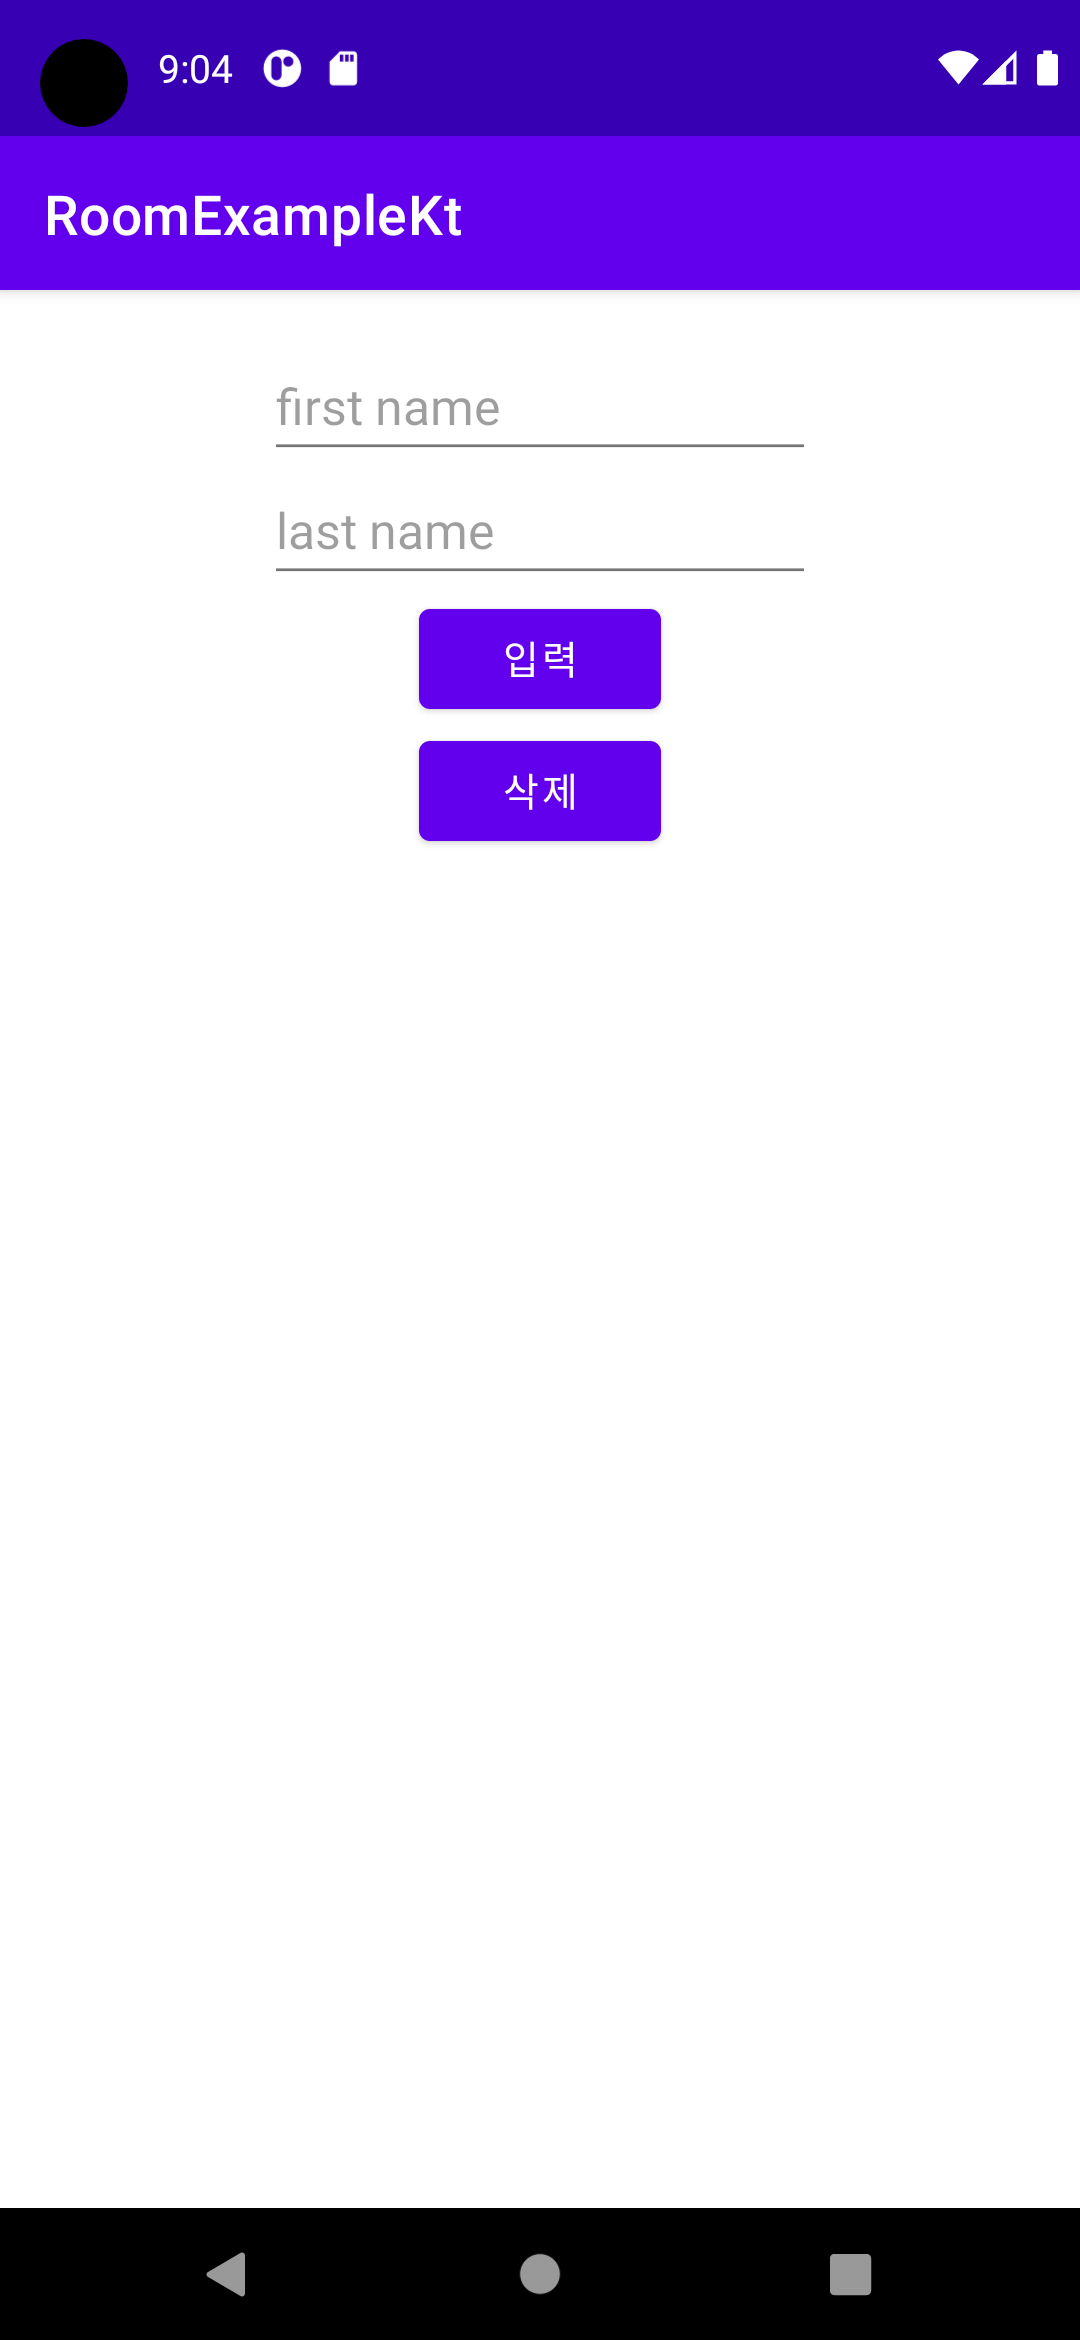
7. 완성화면


===
느낀점
1. Android에서 제공하는 예제를 처음에 접하고 처음보는 내용들이 많아서 이걸 어떻게 다하지.... 하고 막막했는데 막상 글로 정리하면서 공부하니 생각보다 할만했다. 어려운거 있어도 미루지말고 차근차근히 해보자.
2. 그동안 공부하면서 모든걸 다 이해하고 구현하려고 노력했는데, 때로는 먼저 코딩해보고 코드를 까보면서 이해하는것도 좋은 방법이 될것같다.( 나중에 결국 다 공부하겠다는 가정하에 )
3. Flow라는 데이터 형식이 있는데 Retrofit을 사용하는 예제에서도 사용할 수 있는지 알아봐야겠다. Repository 패턴 특성상 "데이터의 출처를 모르게 해야한다"고 하는데 Room에서는 Flow형식의 데이터를 받아오고, Retrofit에서는 Respoonse 형식의 데이터를 가져온다면 문제가 있을것 같다는 생각이 든다.
'Legacy' 카테고리의 다른 글
| [C++#5] 자료구조 (0) | 2022.04.18 |
|---|---|
| [안드로이드 스튜디오 정리#19] drawText, breakText (0) | 2022.03.01 |
| [안드로이드 스튜디오 정리#18] Room (0) | 2022.02.18 |
| [안드로이드 스튜디오 정리#17] Retrofit Errorbody, Status code, HttpLoggingIntercepter, Header (0) | 2022.02.13 |
| [안드로이드 스튜디오 독학#50] Navigation (0) | 2022.02.08 |