이 게시물은 다음 링크를 참조하여 학습했습니다.
LayoutInflater | Android 개발자 | Android Developers
developer.android.com
ContextCompat | Android 개발자 | Android Developers
ContextCompat public class ContextCompat extends Object java.lang.Object ↳ androidx.core.content.ContextCompat Known direct subclasses ActivityCompat Helper for accessing features in Activity. Helper for accessing features in Context. Summary Pro
developer.android.com
[Android] 레이아웃 인플레이터(LayoutInflater)란?
LayoutInflater를 이해하기 전에 inflater에 대해서 미리 알아야 한다. 우리는 안드로이드 개발을 하게 되면 대개 먼저, 화면을 정의하는 xml 코드를 작성한다. 위 예시에서는 버튼과 텍스트뷰를 화면에
markim94.tistory.com
메이큐p
5 개월 평일 10분씩 사용해서 앱이랑 웹만들기!!! 모르면 댓글에 질문해주세용
www.youtube.com
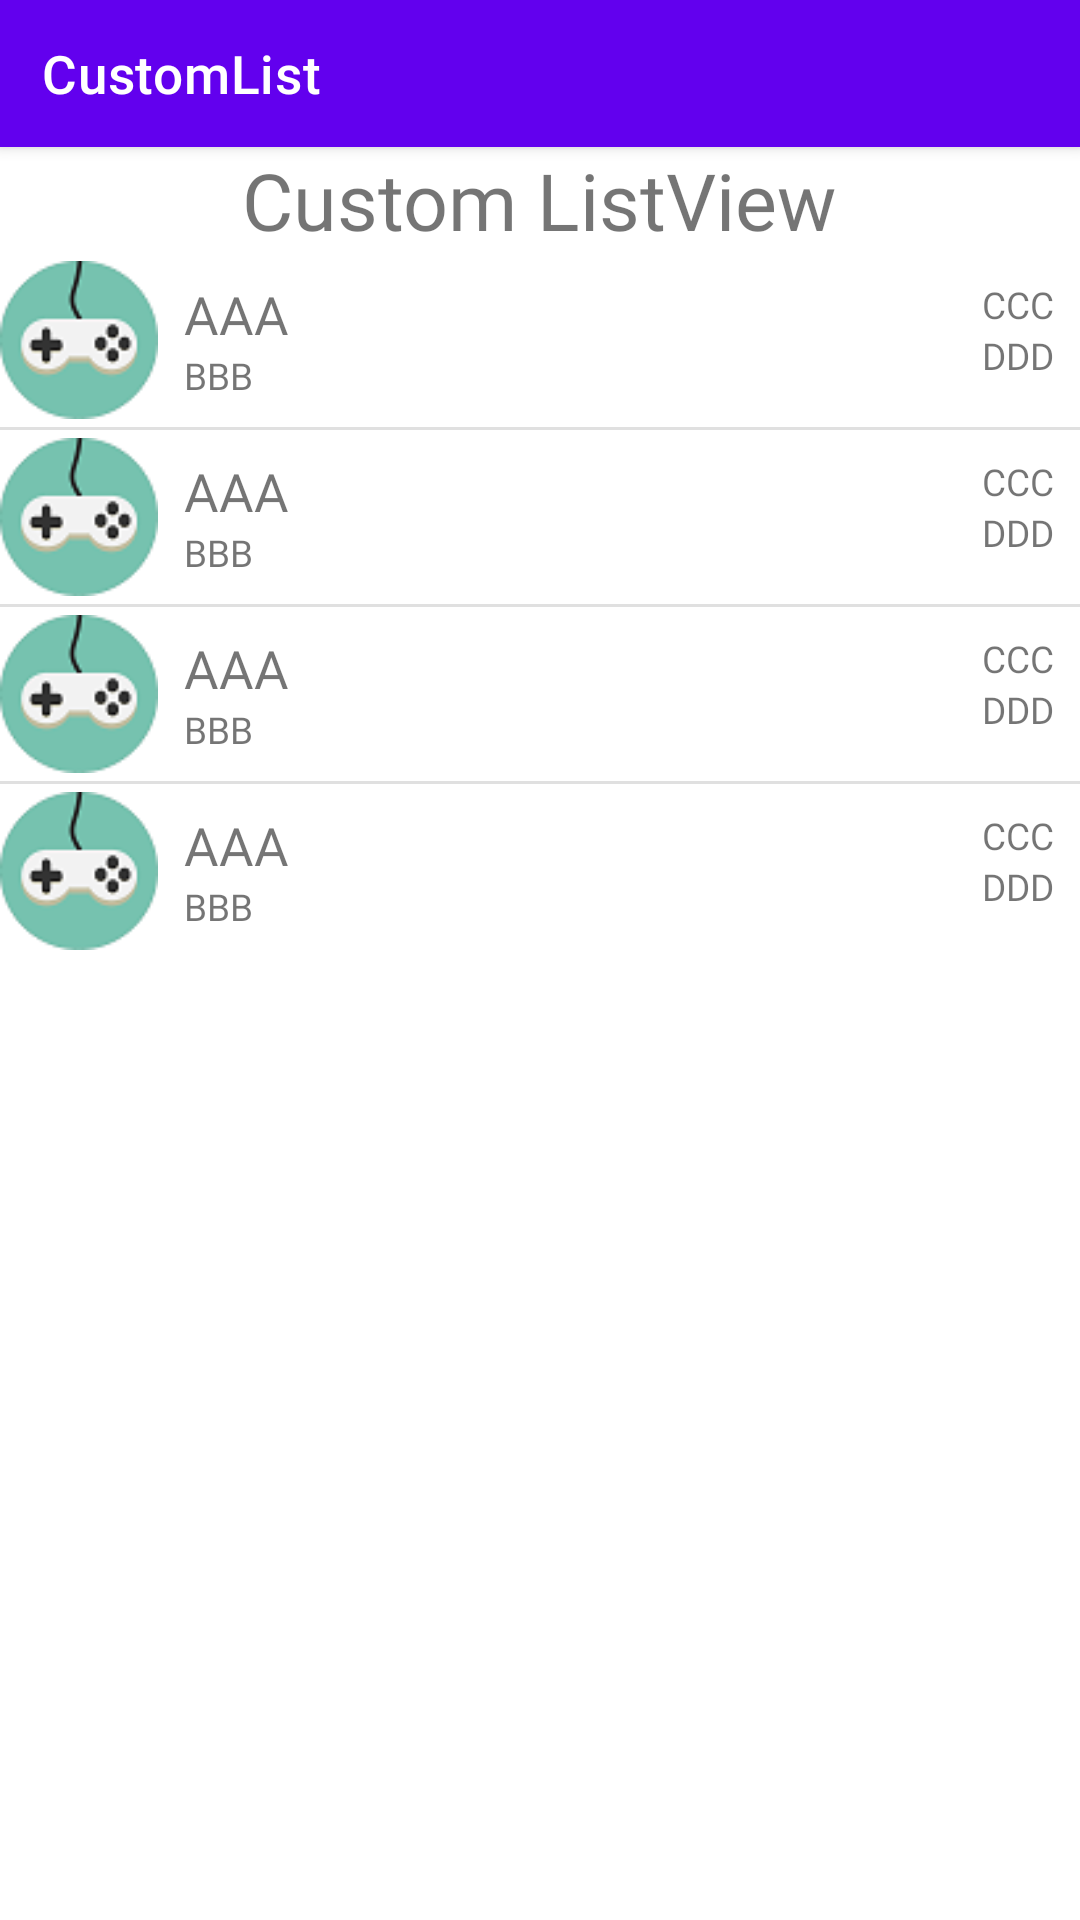
지난 시간에 쇼핑몰 인터페이스를 만들면서 부족한 점을 몇 가지 느꼈고, 그 중 리스트뷰에 대해서 더 공부를 했다.
리스트뷰를 기존에는 텍스트데이터만 저장하도록 구현했는데,
이번시간에는 이미지나 버튼, 여러개의 텍스트를 넣는 작업을 하면서 여러가지 기능을 추가해보았다.
activity_main.xml
|
1
2
3
4
5
6
7
8
9
10
11
12
13
14
15
16
17
18
19
20
21
22
23
|
<?xml version="1.0" encoding="utf-8"?>
<LinearLayout
xmlns:android="http://schemas.android.com/apk/res/android"
xmlns:app="http://schemas.android.com/apk/res-auto"
xmlns:tools="http://schemas.android.com/tools"
android:layout_width="match_parent"
android:layout_height="match_parent"
tools:context=".MainActivity"
android:orientation="vertical"
android:gravity="center_horizontal">
<TextView
android:layout_width="wrap_content"
android:layout_height="wrap_content"
android:textSize="30dp"
android:text="Custom ListView"/>
<ListView
android:id="@+id/lv"
android:layout_width="match_parent"
android:layout_height="wrap_content"/>
</LinearLayout>
|
cs |
item_list.xml
|
1
2
3
4
5
6
7
8
9
10
11
12
13
14
15
16
17
18
19
20
21
22
23
24
25
26
27
28
29
30
31
32
33
34
35
36
37
38
39
40
41
42
43
44
45
46
47
48
49
50
51
52
|
<?xml version="1.0" encoding="utf-8"?>
<LinearLayout
xmlns:android="http://schemas.android.com/apk/res/android"
android:layout_width="match_parent"
android:layout_height="match_parent">
<ImageView
android:id="@+id/iv"
android:layout_gravity="center_vertical"
android:layout_width="wrap_content"
android:layout_height="wrap_content"
android:src="@mipmap/ic_launcher_round"/>
<RelativeLayout
android:layout_width="match_parent"
android:layout_height="wrap_content"
android:layout_gravity="center_vertical"
android:layout_margin="10dp">
<TextView
android:id="@+id/tv_1"
android:layout_width="wrap_content"
android:layout_height="wrap_content"
android:layout_alignParentTop="true"
android:text="Text1"
android:textSize="20dp"/>
<TextView
android:id="@+id/tv_2"
android:layout_width="wrap_content"
android:layout_height="wrap_content"
android:text="Text2"
android:layout_below="@+id/tv_1"/>
<TextView
android:id="@+id/tv_3"
android:layout_width="wrap_content"
android:layout_height="wrap_content"
android:text="Text3"
android:layout_alignParentRight="true"/>
<TextView
android:id="@+id/tv_4"
android:layout_width="wrap_content"
android:layout_height="wrap_content"
android:text="Text4"
android:layout_alignParentRight="true"
android:layout_below="@id/tv_3"/>
</RelativeLayout>
</LinearLayout>
|
cs |
item_list.java
|
1
2
3
4
5
6
7
8
9
10
11
12
13
14
15
16
17
18
19
20
21
22
23
24
25
26
27
28
29
30
31
32
33
34
35
36
37
38
39
40
41
42
43
44
45
46
47
48
49
50
51
52
53
54
|
package com.example.customlist;
import android.graphics.drawable.Drawable;
public class item_list {
private String tv_1;
private String tv_2;
private String tv_3;
private String tv_4;
private Drawable d;
public Drawable getD() {
return d;
}
public String getTv_1() {
return tv_1;
}
public String getTv_2() {
return tv_2;
}
public String getTv_3() {
return tv_3;
}
public String getTv_4() {
return tv_4;
}
public void setD(Drawable d) {
this.d = d;
}
public void setTv_1(String tv_1) {
this.tv_1 = tv_1;
}
public void setTv_2(String tv_2) {
this.tv_2 = tv_2;
}
public void setTv_3(String tv_3) {
this.tv_3 = tv_3;
}
public void setTv_4(String tv_4) {
this.tv_4 = tv_4;
}
}
|
cs |
item_control.java
|
1
2
3
4
5
6
7
8
9
10
11
12
13
14
15
16
17
18
19
20
21
22
23
24
25
26
27
28
29
30
31
32
33
34
35
36
37
38
39
40
41
42
43
44
45
46
47
48
49
50
51
52
53
54
55
56
57
58
59
60
61
62
63
64
65
66
67
68
69
|
package com.example.customlist;
import android.content.Context;
import android.graphics.drawable.Drawable;
import android.view.LayoutInflater;
import android.view.View;
import android.view.ViewGroup;
import android.widget.BaseAdapter;
import android.widget.ImageView;
import android.widget.TextView;
import java.util.ArrayList;
public class item_control extends BaseAdapter {
ArrayList<item_list> lists = new ArrayList<>();
@Override
//갯수가 몇개인지
public int getCount() {
return lists.size();
}
//데이터 전송
@Override
public Object getItem(int position) {
return lists.get(position);
}
//어디에 있는지
@Override
public long getItemId(int position) {
return position;
}
@Override
public View getView(int position, View convertView, ViewGroup parent) {
if(convertView == null){
LayoutInflater layoutInflater = (LayoutInflater)parent.getContext().getSystemService(Context.LAYOUT_INFLATER_SERVICE);
convertView = layoutInflater.inflate(R.layout.item_list, parent, false);
}
TextView tv_1 = convertView.findViewById(R.id.tv_1);
TextView tv_2 = convertView.findViewById(R.id.tv_2);
TextView tv_3 = convertView.findViewById(R.id.tv_3);
TextView tv_4 = convertView.findViewById(R.id.tv_4);
ImageView D = convertView.findViewById(R.id.iv);
item_list i = lists.get(position);
tv_1.setText(i.getTv_1());
tv_2.setText(i.getTv_2());
tv_3.setText(i.getTv_3());
tv_4.setText(i.getTv_4());
D.setImageDrawable(i.getD());
return convertView;
}
public void addItem(Drawable D, String tv_1, String tv_2, String tv_3, String tv_4){
item_list i = new item_list();
i.setD(D);
i.setTv_1(tv_1);
i.setTv_2(tv_2);
i.setTv_3(tv_3);
i.setTv_4(tv_4);
lists.add(i);
}
}
|
cs |
MainActivity.java
|
1
2
3
4
5
6
7
8
9
10
11
12
13
14
15
16
17
18
19
20
21
22
23
24
|
package com.example.customlist;
import androidx.appcompat.app.AppCompatActivity;
import androidx.core.content.ContextCompat;
import android.os.Bundle;
import android.widget.ListView;
public class MainActivity extends AppCompatActivity {
@Override
protected void onCreate(Bundle savedInstanceState) {
super.onCreate(savedInstanceState);
setContentView(R.layout.activity_main);
ListView lv = findViewById(R.id.lv);
item_control ilAdapter = new item_control();
lv.setAdapter(ilAdapter);
ilAdapter.addItem(ContextCompat.getDrawable(this,R.drawable.icon3), "AAA","BBB","CCC","DDD");
ilAdapter.addItem(ContextCompat.getDrawable(this,R.drawable.icon3), "AAA","BBB","CCC","DDD");
ilAdapter.addItem(ContextCompat.getDrawable(this,R.drawable.icon3), "AAA","BBB","CCC","DDD");
ilAdapter.addItem(ContextCompat.getDrawable(this,R.drawable.icon3), "AAA","BBB","CCC","DDD");
}
}
|
cs |
1. Inflater
Inflater는 쉽게 생각하면 xml파일을 객체화해서 java코드에서 사용하도록 한 것이다.
xml파일과 java파일을 연결한다고 생각하면 이해하기 쉽다.
MainActivity.java를 보면 setContentView(R.layout.activity_main)이 있는데 이 함수가 xml과 java를 쌍을 이루어준다.
2. LayoutInflater
Inflater가 xml을 객체화해서 화면 전체로 사용한다면,
LayoutInflater는 xml을 객체화해서 메인화면의 일부분으로 삽입할 수 있다.
item_control.java를 보면 getView함수 내에서 if문 안의 내용이 그 부분이다.
3. Adapter
지난번엔 ArrayAdapter를 사용했다면, 이번 시간에는 BaseAdapter를 상속받은 item_control이라는 커스텀 어댑터를 사용했다.
ArrayAdapter보다 가변적인 자료에 대해서 효율적으로 사용할 수 있을 것 같은 느낌이였다.
Adapter에 대해서는 개념적으로 한번 정리를 할 필요성을 느꼈다.
MainActivity에서 setAdapter를 통해 어댑터를 설정했다.
4. Image
이미지는 ContextCompat.getDrawble(this, R.drawble.icon3)을 통해 참조할 수 있었다.
ContextCompat에 대해서는 developer android에서 정의를 쉽게 찾을 수 있었다.
"Helper for accessing features in Context."
즉, 번역하자면 컨텍스트의 기능에 접근하기 위한 도우미 역할이다.
이미지의 픽셀값은 가로, 세로 60으로 지정했는데,
기기에 따라 이미지를 변경할 필요가 있을것 같은데,
이미지 크기를 변수를 지정하거나 가변적으로 변화시킬 수 있는지 알아봐야 겠다.
'Legacy' 카테고리의 다른 글
| [안드로이드 스튜디오 독학#18] Custom RecyclerView (0) | 2021.01.19 |
|---|---|
| [안드로이드 스튜디오 정리#3] Android Component & Intent (0) | 2021.01.19 |
| [안드로이드 스튜디오 독학#16] 쇼핑몰 인터페이스 (0) | 2021.01.18 |
| [안드로이드 스튜디오 정리#2-4] ImageView (0) | 2021.01.15 |
| [안드로이드 스튜디오 정리#2-3] Button (0) | 2021.01.15 |